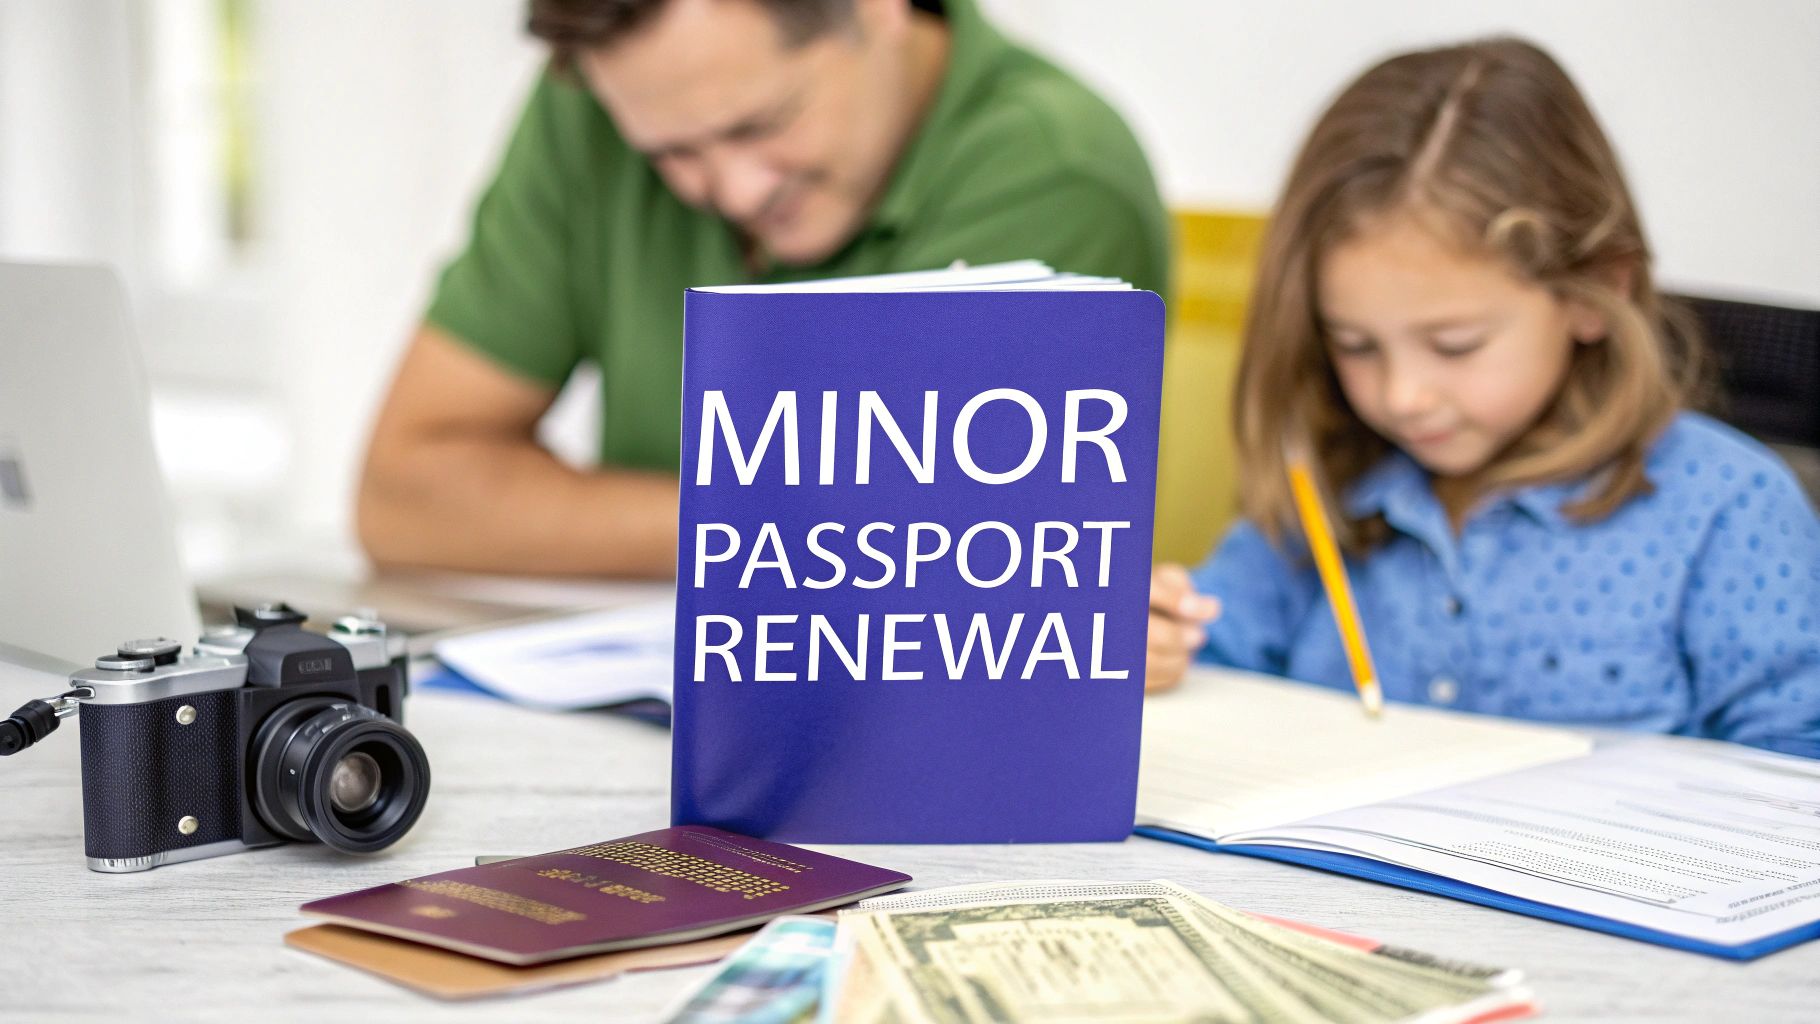
Passport Renewal Minor Requirements Explained Simply
So you need to renew your child's passport. It’s a bit more involved than just snapping a new picture. For kids under the age of 16, the process is treated like a brand-new application every single time, and for good reason: safety.
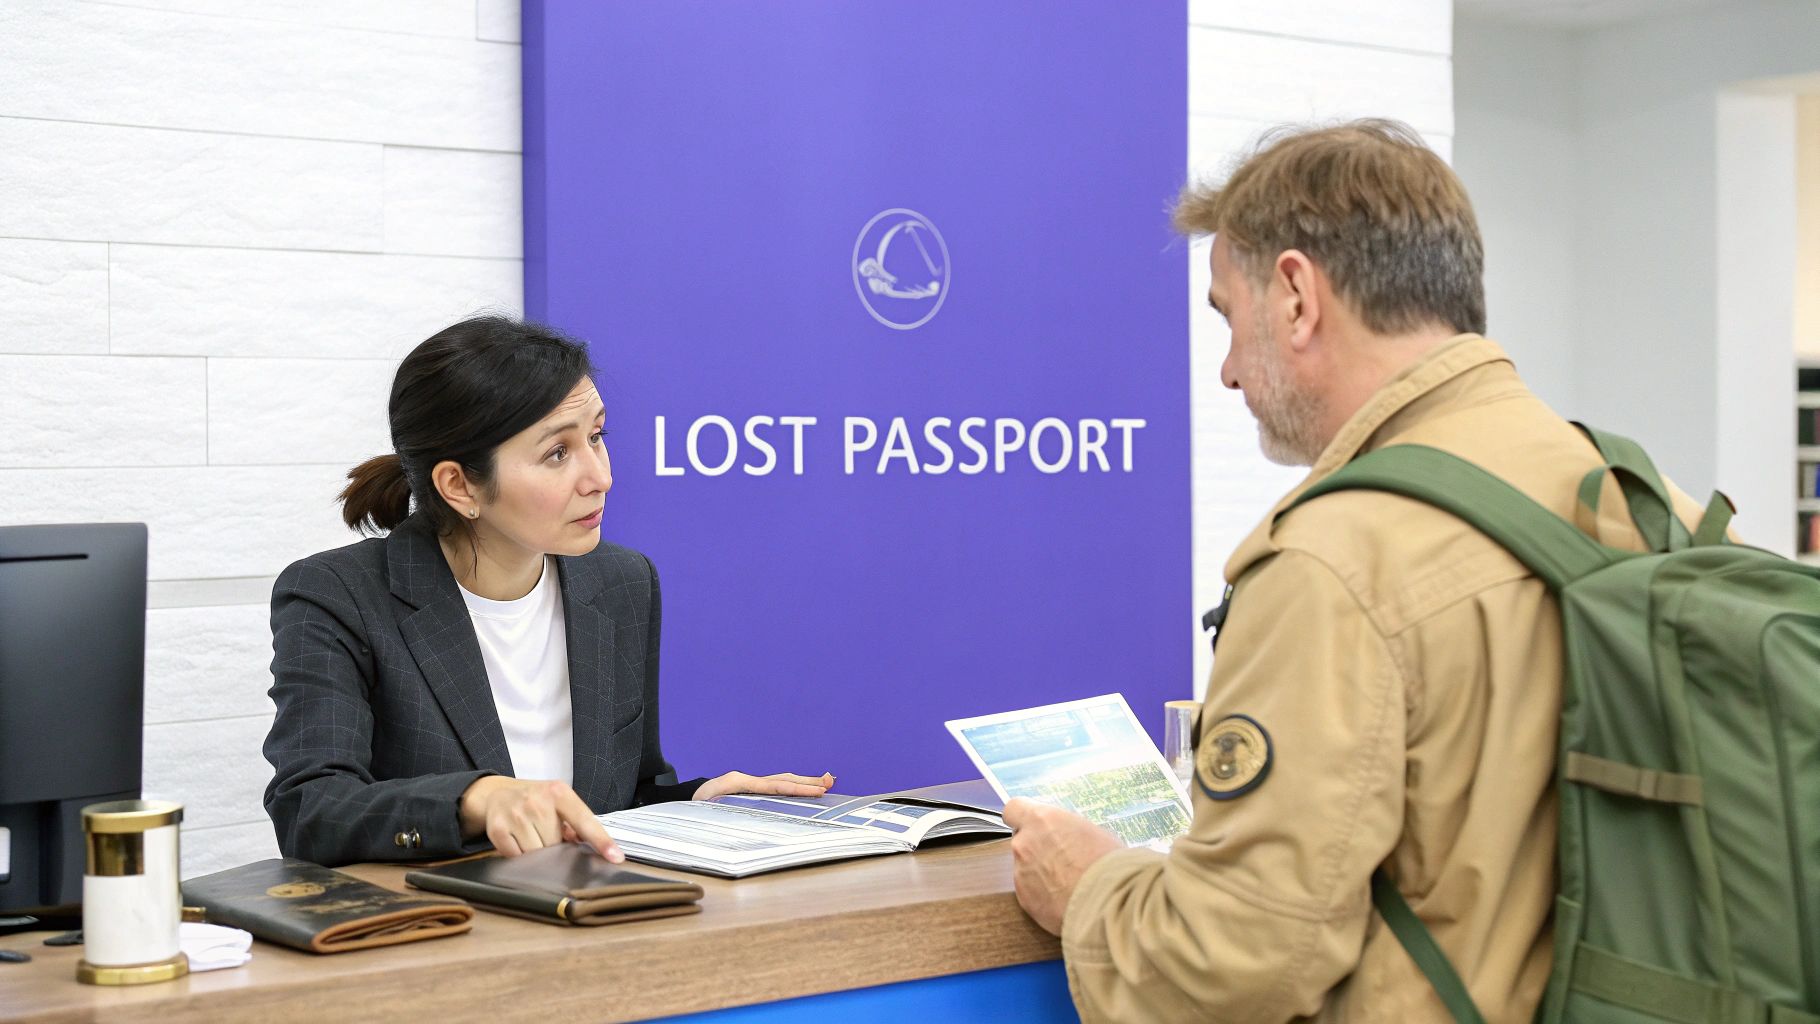
This means you can't just mail everything in. It requires an in-person appointment with both legal guardians present, along with a specific stack of documents.
Your Guide to Renewing a Minor's Passport
Navigating the renewal process for a minor's passport can seem daunting, but once you know the rules, it’s completely manageable. The key is to understand that, unlike an adult renewal, you're essentially starting from scratch. This isn't just bureaucracy; it's a critical security measure to protect children.
The whole process really boils down to three main components:
- The Paperwork: Getting your documents in order is the most important step. You'll need the child's old passport, their original birth certificate, and valid government-issued IDs for both parents. No photocopies allowed here—bring the originals.
- Parental Consent: This is non-negotiable. Both parents or legal guardians must attend the appointment to give consent. The rule is strictly enforced to prevent international parental child abduction.
- The In-Person Appointment: You, your child, and the other parent must all show up together at an official passport acceptance facility.
Why the Rules Are So Strict
The government isn't trying to make your life difficult—these strict requirements are in place for your child's protection. The protocols for renewing a minor's passport are designed to confirm the identity of the child and their guardians, preventing unauthorized travel and ensuring their safety.
It's a critical layer of security that countries around the world take very seriously.
Key Takeaway: Always treat your child's passport renewal like a first-time application. You have to show up in person with your child and the other parent. Double-check that you have all the original documents before you head out the door.
Getting this done early is the best advice I can give. Once the passport is renewed and in your hands, you can finally focus on the fun parts of planning your trip. For a full rundown of what to do next, check out our guide on how to prepare for international travel. It's a complete checklist to make sure nothing gets missed.
To help you stay organized, here's a quick cheat sheet of everything you'll need to bring to your appointment.
Minor Passport Renewal Checklist At a Glance
| Requirement Category | Key Items | Important Notes |
|---|---|---|
| Application Form | Completed Form DS-11 | Do NOT sign the form until instructed by the acceptance agent. Use black ink only. |
| Proof of U.S. Citizenship | Child's original or certified birth certificate | Must be the original document. Photocopies are not accepted. |
| Parental Application | Both parents/guardians must attend | If one parent cannot attend, a signed and notarized consent form (DS-3053) is required. |
| Parental Identification | Valid driver's license, passport, or other government-issued ID for both parents | Bring originals and a front-and-back photocopy of each ID. |
| Proof of Parental Relationship | Child's original birth certificate or adoption decree | This document establishes the connection between the parents and the child. |
| Previous Passport | The child's most recently issued passport | Even if expired, you must submit the old passport. |
| Passport Photo | One 2x2 inch color photograph | Must be recent (taken in the last 6 months) and meet all official requirements. |
| Payment for Fees | Check or money order | Some facilities may accept credit cards, but it's best to confirm beforehand. Two separate payments are needed. |
Having this checklist handy will save you from that last-minute panic of "did I forget something?" before you walk out the door.
Assembling the Essential Application Documents
Getting all your paperwork in order is probably the most critical part of this whole process. A successful renewal application hinges on having flawless, organized documents that prove your child's identity and your legal relationship to them.
Let's walk through exactly what you need to bring to your in-person appointment.
The Application Form Itself
First things first, you'll need the DS-11 form. Yes, this is the same form used for a brand-new passport, which is exactly how the government treats a renewal for a child under 16. You can download it directly from the U.S. Department of State's website and fill it out at home using black ink.
Crucial Tip: Do NOT sign the DS-11 form until you are in front of the passport acceptance agent. They have to witness your signature. Signing it beforehand is a common mistake that will invalidate the entire form, and you'll have to start over right there at the appointment.
Proving Your Child's U.S. Citizenship
Next up is the undeniable proof of your child's citizenship. This is non-negotiable, and photocopies won't cut it. You must bring one of the following original documents:
- U.S. Birth Certificate: This needs to be an original or a certified copy, and it should list one or both parents' names.
- Previous U.S. Passport: The child's most recent passport is perfect proof, even if it's expired.
- Consular Report of Birth Abroad or Certification of Birth: This applies to children born to U.S. citizens overseas.
- Certificate of Citizenship or Naturalization: If this is how your child gained citizenship.
The acceptance agent will take the original document you provide and send it off with the application. Don't worry—it will be mailed back to you in a separate envelope after the new passport is issued.
Establishing Your Parental Relationship
The government also needs to verify that you are, in fact, the child's legal parent or guardian. Often, the same document you use for citizenship—like a birth certificate—pulls double duty here.
The most common proof is the child's original birth certificate with your name listed as a parent. Other documents that work include:
- Adoption decree: Must list the adopting parents.
- Court order: Any official document establishing custody or guardianship.
Valid Identification for Parents
Finally, both parents who are attending the appointment must present their own valid, government-issued photo ID. You're essentially proving your own identity to vouch for your child.
Acceptable forms of identification include:
- A valid driver's license (temporary licenses or learner's permits are not accepted).
- A current passport book or passport card.
- A military ID or other government employee ID.
Here's another tip to avoid a headache: bring both your original ID and a clear, single-sided photocopy of the front and back. Forgetting the photocopy is a classic mistake that can cause completely avoidable delays. Having everything prepared and ready to go makes the appointment go much smoother.
Navigating the Parental Consent Labyrinth
Let’s be honest: parental consent is where most well-prepared passport applications hit a brick wall. The government has a strict “two-parent consent” rule for any child under the age of 16, and it’s there for a crucial reason: to prevent international parental child abduction.
This means both legal parents or guardians are required to show up in person with the child for the appointment. It can be a real logistical headache, I know, but it’s a non-negotiable step designed to protect your kid. A little bit of planning here will save you a world of frustration later.
This quick visual breaks down the main steps for a minor's passport application.
As you can see, getting the parental consent squared away is the critical piece you need before you can even think about submitting everything.
When One Parent Cannot Attend
Life happens. It's not always realistic for both parents to get to the same place at the same time due to work, travel, or a hundred other reasons. Luckily, there's a straightforward workaround for this exact scenario.
The parent who can't make it needs to fill out and sign a Statement of Consent form (DS-3053). This isn't just a simple signature—it has to be notarized. You'll need to bring that notarized form along with a photocopy (both front and back) of the ID that the absent parent showed the notary. Think of this form as their official permission slip, allowing you to handle the application without them.
Handling Special Circumstances
If your family situation is a bit more complicated, you’ll need specific documents to prove it. For instance, if you have sole legal custody, you must bring the original court order that grants you that authority. A simple custody agreement won't cut it; it has to be the official, legally binding document from the court.
Other tough situations have their own requirements. If the other parent is deceased, you'll need to provide the original death certificate. And if one parent's location is completely unknown, you’ll likely have to fill out a special form (DS-5525), which details all the steps you took to try and find them. If you're navigating one of these more unique cases, our guide on how to get a passport for a minor can offer more detailed advice.
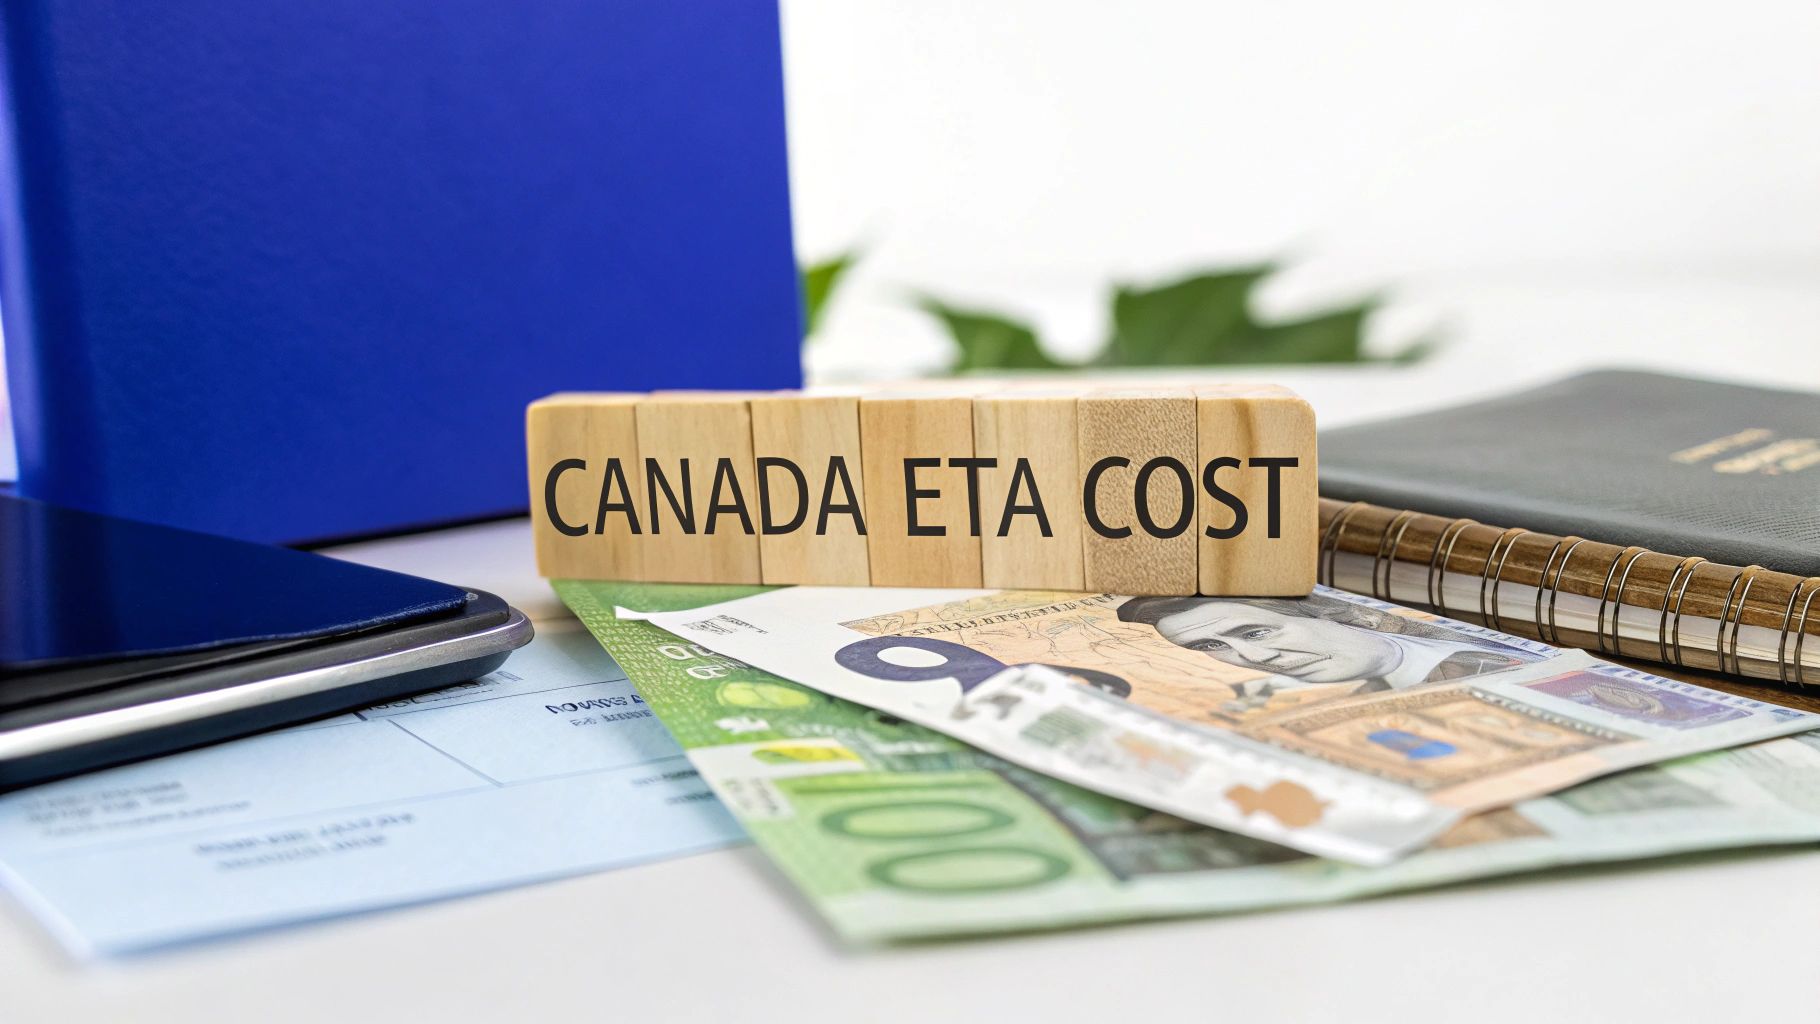
These strict documentation rules are pretty standard across the globe. Just look at Canada—they have similar parental consent requirements for minors. In fact, many countries like the UK and Canada now require an Electronic Travel Authorization (ETA or eTA) even for short visits, and these applications also require careful attention to detail for minors.
Key Insight: The consent rules are not a gray area. My best advice? Bring more documentation than you think you need. A notarized DS-3053 or an original court order is your ticket to getting it done right the first time and avoiding a dreaded second appointment.
Getting a Passport Photo That Won't Get Rejected
Let's be honest—this is often the hardest part. A non-compliant photo is one of the top reasons a child’s passport application gets delayed or flat-out rejected. The government has very strict rules, and trying to get a perfect shot of a squirming toddler or a sleepy newborn can feel almost impossible.
The basics seem simple enough. The photo has to be a recent, high-quality color picture taken within the last six months. The background must be plain white or off-white, with no shadows, toys, or patterns in sight.
Mastering the Photo Requirements
The real challenge comes when you add a child to the mix. Their head has to be perfectly centered and sized correctly in the frame. They need to have a neutral expression (or just a hint of a smile) with both eyes wide open.
And don't forget the other rules: no glasses, and no hats or head coverings unless they're for religious reasons (which requires a signed statement).
Here are a few tips that have worked for parents in the trenches:
- For Infants: The easiest trick is to lay your baby on their back on a plain white sheet. This gives you a perfect, compliant background and helps keep them settled. Just stand directly over them to get the shot.
- For Toddlers: Try seating them in a high chair or car seat with a white wall behind them. To capture that neutral, forward-facing look, have another person stand behind the camera and hold up a favorite toy or make a quiet, engaging sound.
- Avoid Common Mistakes: Double-check for any shadows on their face or behind them. Make sure their hair isn't covering their eyes and that the photo is sharp and in focus, not blurry.
DIY vs. Professional Photo Services
While taking the photo yourself can save a few dollars, going to a professional service at a pharmacy, shipping center, or photo studio can save you a massive headache. These places know the passport renewal minor requirements inside and out and have the right lighting and backdrops.
A professional photo usually costs between $12 and $20, but it's often a worthwhile investment to avoid the frustration and delay of a rejected application. If you aren't confident you can get the shot just right, let an expert handle it.
Once you have the perfect picture, you’ll often need both a physical copy and a digital one. If you need to create a digital version, our guide on how to scan a passport photo walks you through the process to ensure your image meets all the necessary digital standards without losing any quality.
Breaking Down Fees and Processing Times
Let’s talk about one of the most common sources of confusion: the costs and timelines for getting a minor's passport. It’s not just one simple payment, which catches a lot of parents off guard.
The fee is actually split into two separate parts, and you pay them to two different places.
First, you have the application fee. This one goes straight to the U.S. Department of State and covers the cost of the actual passport book or card. Then there’s the execution fee (sometimes called an acceptance fee), which you pay to the facility that takes your paperwork—think your local post office or library.
Basically, you’re making one payment for the product (the passport) and another for the service of having your documents officially accepted.
Mapping Out the Payment Process
Knowing who gets paid what is a bigger deal than it sounds, mainly because they often have different payment rules.
- U.S. Department of State (Application Fee): This part almost always requires a check or money order. You'll rarely find an acceptance facility that can process a credit card for this fee.
- Acceptance Facility (Execution Fee): You have more flexibility here. Many spots will take credit cards, debit cards, or cash. But it’s always a good idea to call ahead and ask. Don't assume.
This two-payment system trips a lot of people up. Showing up with just a credit card is a classic mistake that can get your appointment canceled on the spot, forcing you to start all over. The simplest way to avoid this is to come prepared with two separate forms of payment.
Standard vs. Expedited Timelines
Once your application is in, the waiting game begins. The government offers two speeds, each with its own cost and timeline.
Standard processing is the default option and is perfectly fine if your trip is months away. The wait times can change depending on how busy they are, but you can generally expect it to take 4 to 6 weeks.
If your travel date is creeping up, expedited processing is your best bet. It comes with an extra fee, but it cuts the wait time down considerably—usually to about 2 to 3 weeks. It's designed for those "oops, we're leaving soon" moments.
Expert Advice: Is expediting worth it? My rule of thumb is this: if you're traveling in less than eight weeks, pay for the expedited service. The peace of mind is worth every penny, and it’s a small price to pay to avoid the chaos of a last-minute travel scramble.
Remember, passport fees aren't the only costs you might run into. Many countries now require electronic travel authorizations. For a look at what these can cost, check out our guide on the UK ETA visa cost. A little planning now can save you from a lot of surprises later.
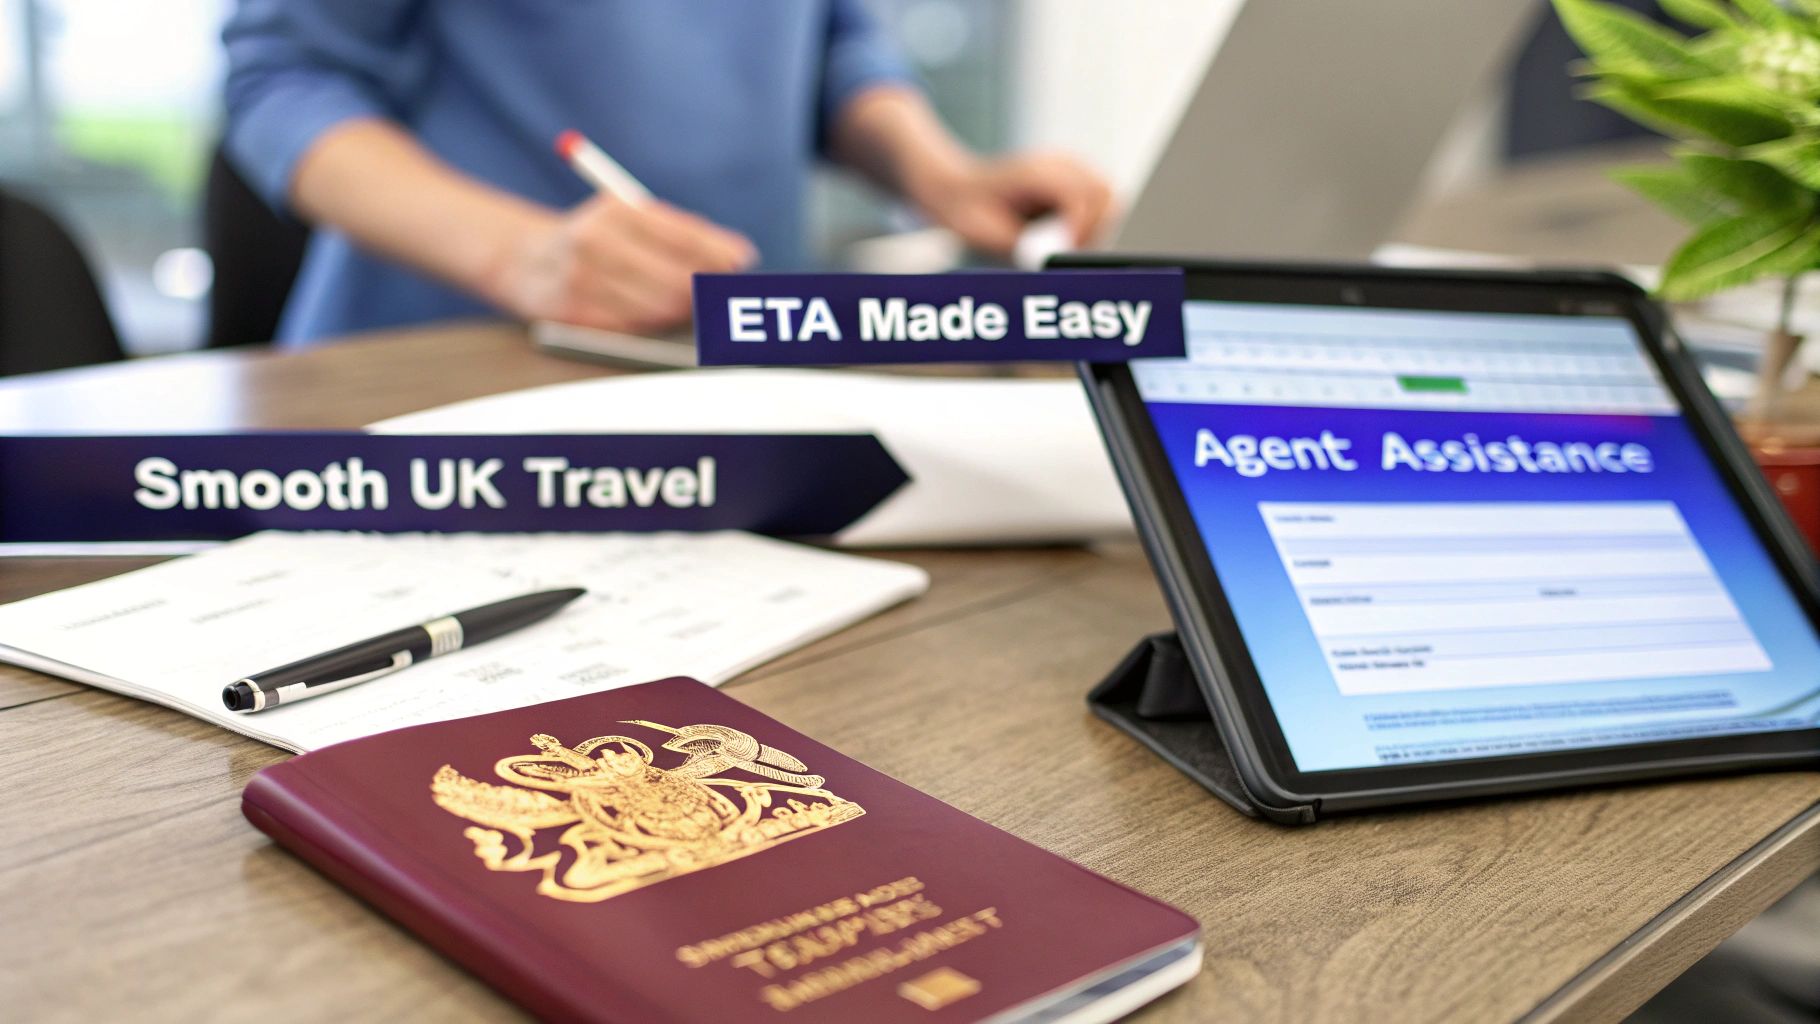
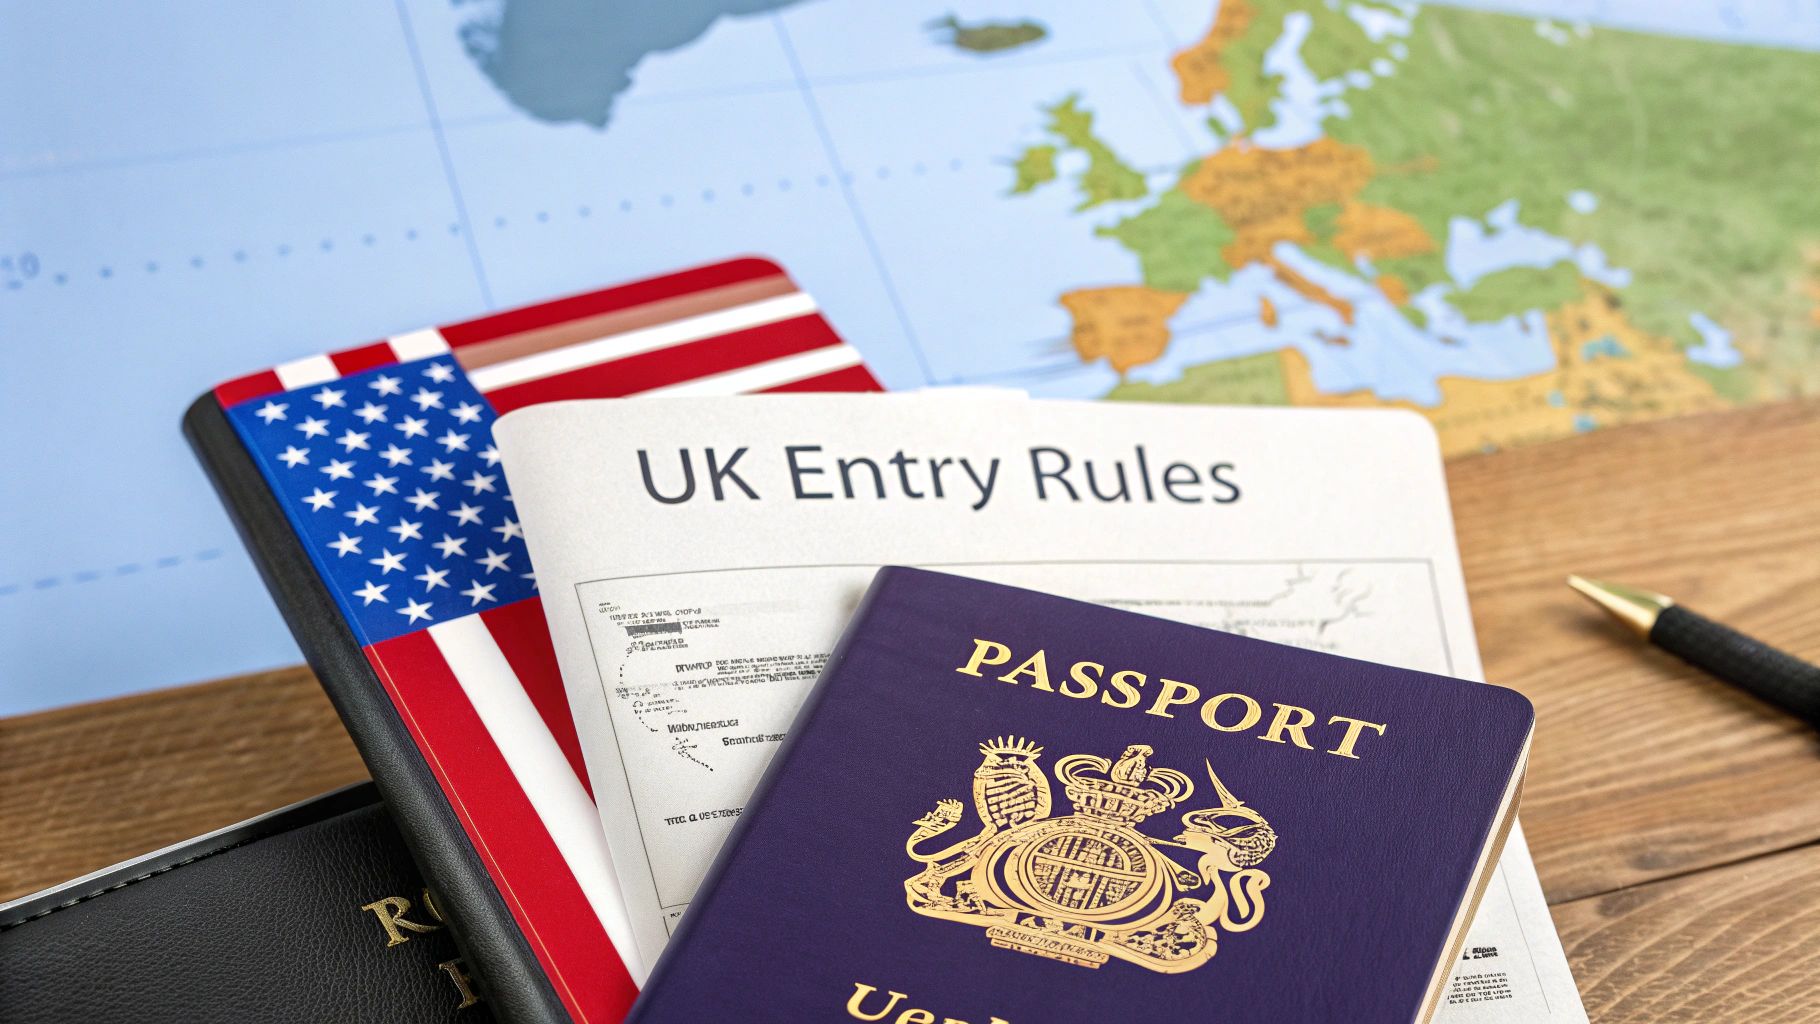
Finalizing Travel with a UK or Canada ETA
With your child's new passport ready to go, there’s one last critical step before you can fly to certain countries: securing the right travel authorization.
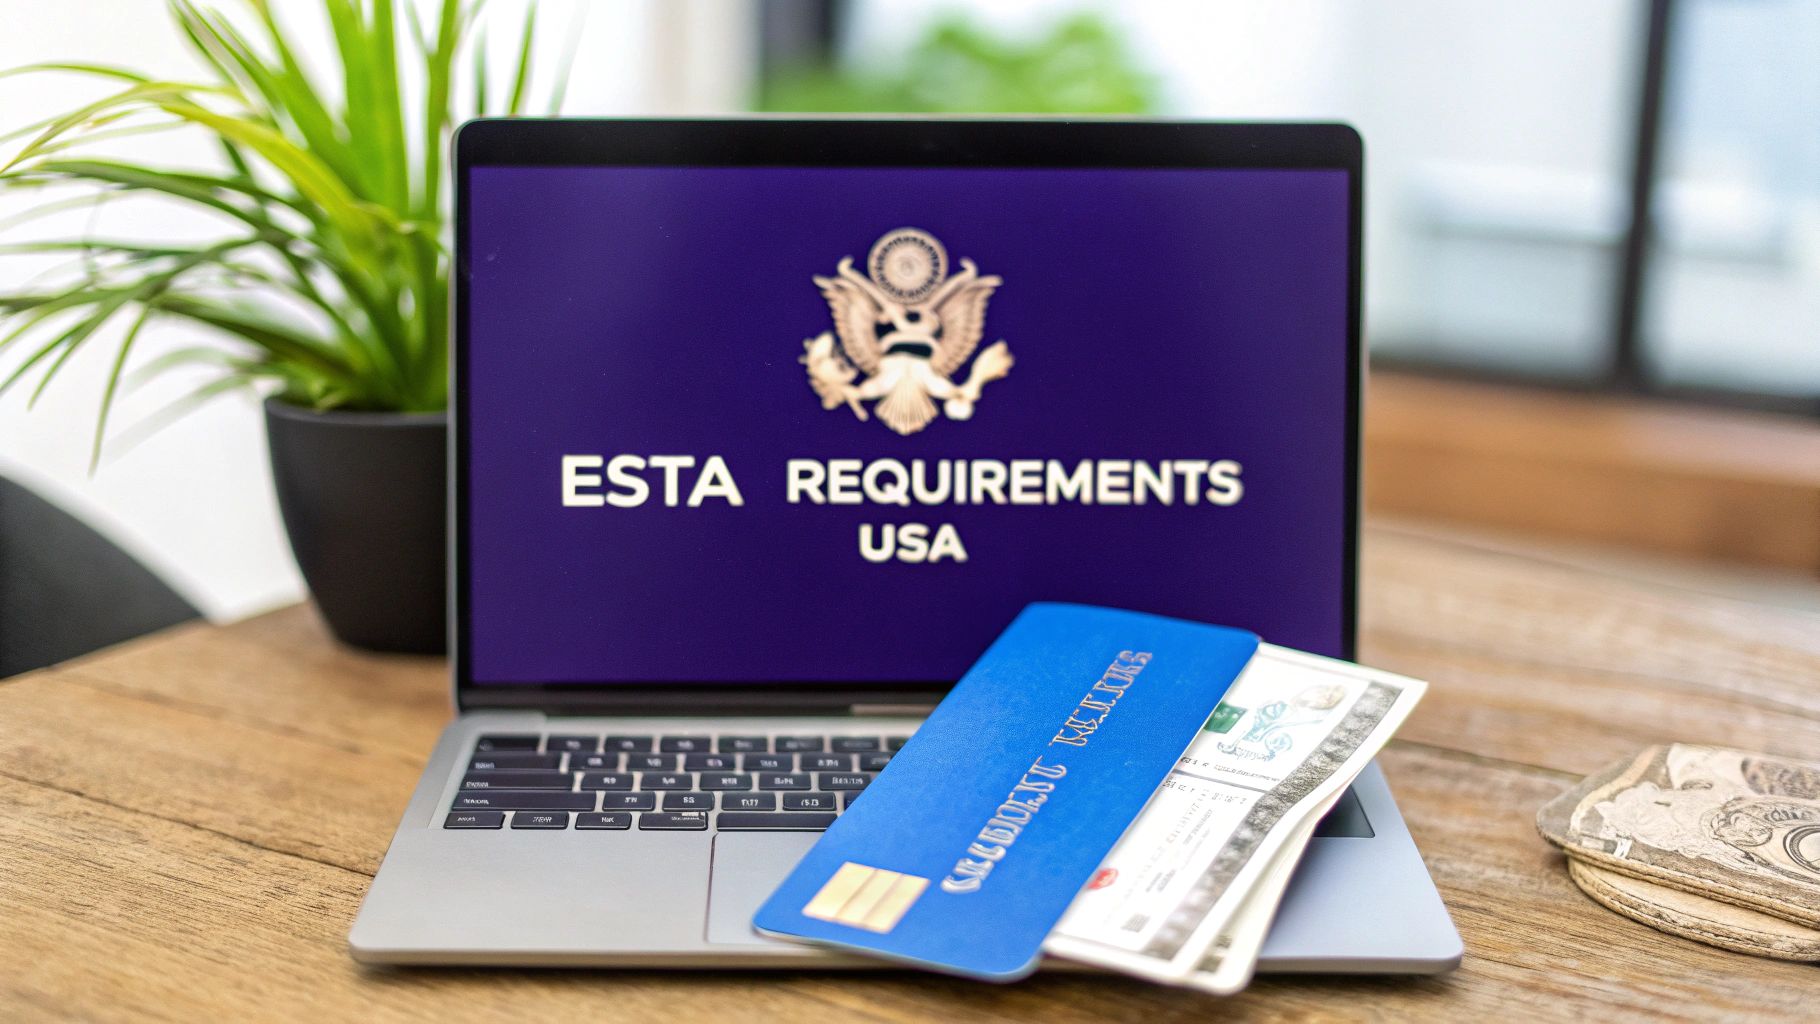
If you’re headed to the United Kingdom or Canada, this usually means getting an Electronic Travel Authorization (ETA). This is a mandatory digital permit for many visa-exempt travelers, and yes, that includes babies and children.
Forgetting this step is one of the easiest ways to ruin a vacation before it even starts. Airlines are required to check for a valid ETA before you board, and without one, you simply won't be allowed on the plane. It’s a stressful, expensive, and completely avoidable mistake.
Why a Simple Mistake Can Derail Your Trip
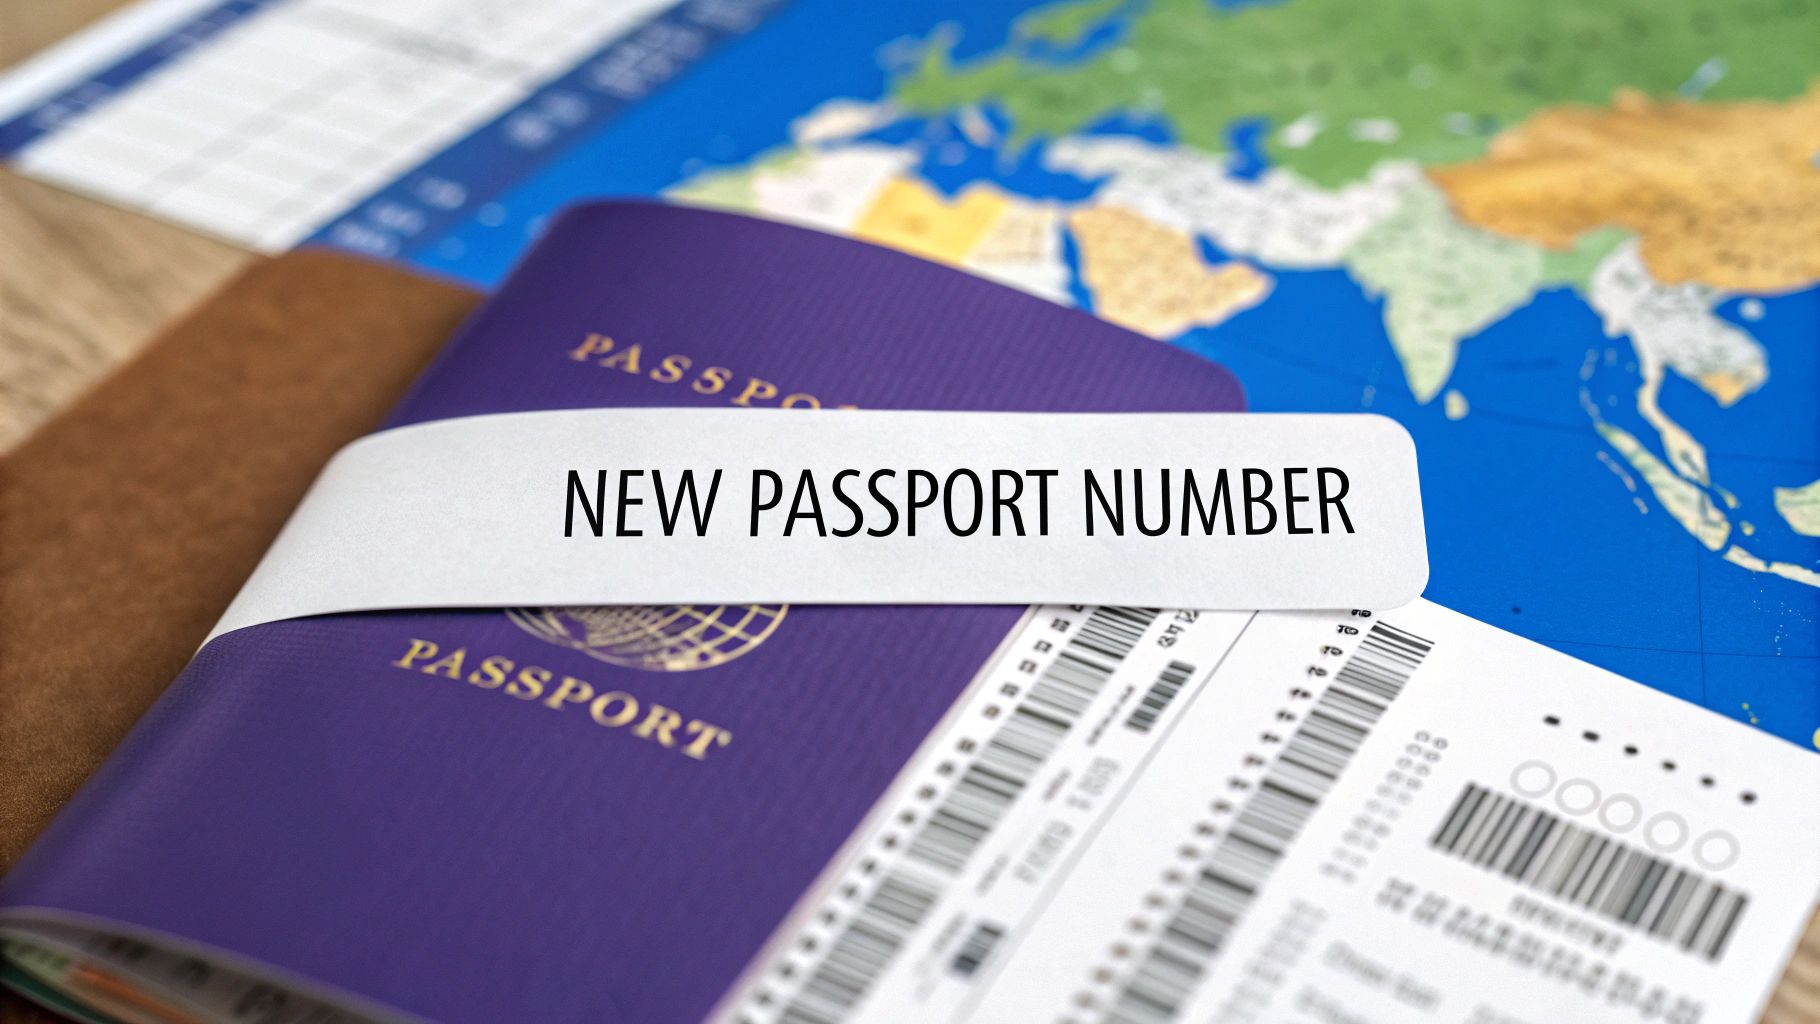
The online application for a UK ETA or a Canada eTA might look simple, but the systems are automated and unforgiving. Even a tiny typo—a mistyped passport number, an incorrect date of birth, or a switched first and last name—can trigger an instant rejection or cause major processing delays.
This is where getting an expert to double-check your work can be a real lifesaver.
Using a third-party application assistance provider like AssistEntry means a trained expert will meticulously review every field for accuracy before it gets submitted. Their service includes full verification of your application, error-checking, and a compliance review to increase your chances of approval. They’ve seen all the common mistakes parents make and can catch them in advance.
To simplify your ETA application and increase your chances of approval, consider using AssistEntry — their experts guide you through the entire process, starting from just $79, which includes all government fees. You can use AssistEntry’s UK ETA page for travel to the United Kingdom or their Canada eTA page for trips to Canada.
Think of it as a small investment for a smooth, stress-free start to your family adventure. For a more detailed breakdown of how the Canadian system works, be sure to read our complete guide on the electronic travel authorization for Canada.
Got Questions About Your Kid’s Passport? We’ve Got Answers.
Even after you’ve gone through all the steps, a few tricky questions always seem to pop up. Let's clear up some of the most common ones parents ask.
Can I Just Renew My Child’s Passport by Mail?
This is probably the number one question we hear, and the answer is a hard no. Any passport renewal for a child under 16 is treated just like a first-time application.
There are no shortcuts here. It means you, your child, and the other parent (or proof of sole custody) absolutely must show up for an in-person appointment at a passport acceptance facility.
What If We Have an Emergency and Need a Passport ASAP?
Life happens. If you’re facing a last-minute trip for a true life-or-death emergency, the standard process won't cut it. You can't just pay an extra fee to speed up the mail-in service.
Instead, you’ll need to secure a rare appointment at a regional passport agency. These are reserved for genuine emergencies or international travel that is just days away (usually within 14 calendar days).
Is It Worth All This for a Passport That Only Lasts 5 Years?
It’s a fair question. Unlike adult passports that are good for a decade, a minor’s passport expires in just five years. But renewing it is about more than just your next family vacation.
A U.S. passport is one of the most powerful in the world, opening doors to global travel, education, and opportunities. Think of it as an investment in your child's future access to the world. You can see how passports stack up on the Global Passport Index.
Don't Make This Mistake: Photocopies are a no-go. You must bring the original or a certified copy of your child's birth certificate. Showing up with a photocopy is one of the fastest ways to get your application denied on the spot.
Do I Have to Go with My 16 or 17-Year-Old?
For teens who are 16 or 17, the rules get a little more flexible. They still have to apply in person, but you might not need to be there with them.
They can often apply on their own as long as they have their own valid government-issued ID (like a driver's license) and can show proof of your consent. This can be as simple as a signed statement from you or even just a check from one of the parents to pay the application fees.
Once that new passport is in hand, your next step is making sure entry into your destination is just as smooth. For popular spots like the UK or Canada, this now means getting an Electronic Travel Authorization (ETA or eTA) ahead of time.
A tiny mistake on these online forms can cause major travel headaches. To avoid delays and mistakes by getting it right the first time, consider using a third-party application assistance provider like AssistEntry. Their experts review everything to ensure your application is perfect, with services starting from just $79 (all costs included).
You can find out more on AssistEntry’s UK ETA page or their Canada eTA page.