How to Get a Passport for a Minor in Simple Steps
Getting a passport for your child really comes down to a few key things: filling out the DS-11 form, bringing original proof of U.S. citizenship, and showing up to an in-person appointment with your child. The most important piece of the puzzle is making sure both parents or legal guardians give their consent. This rule is non-negotiable and is there to protect your child.
Your Roadmap to a Minor's Passport
Planning an international trip with your family is incredibly exciting, but it all starts with paperwork. Getting the right documents for everyone, especially your kids, is the first step. The process for a minor’s passport is intentionally more strict than for an adult, and for good reason—it’s all about safeguarding parental rights and your child’s welfare.
Think of this guide as your game plan. We’ll walk you through exactly what you need to do, step by step, so you can get through the application process without any headaches.
Understanding the Core Requirements
When it comes down to it, the government needs to verify three main things before they’ll issue a passport to anyone under 16:
- The child's identity and U.S. citizenship. An original or certified birth certificate is the go-to document for this.
- The identity of the parents or guardians. You’ll need to show your own valid government-issued IDs, like a driver's license or passport.
- Proof that both parents or guardians agree. This is often the trickiest part and requires some coordination.
The whole application has to be done in person at a passport acceptance facility. This isn't just a formality—it allows an official agent to physically see you, your child, and your original documents, and witness your signatures. It’s a critical security check.
To give you a quick overview, here's a simple checklist of what you'll need to gather and do.
Minor Passport Application Checklist at a Glance
| Requirement | What You Need | Key Action |
|---|---|---|
| Application Form | Completed (but unsigned) Form DS-11 | Fill it out online or by hand using black ink. Do not sign it until instructed. |
| Proof of Citizenship | Original or certified copy of the birth certificate or other citizenship evidence | Photocopy both sides and bring both the original and the copy. |
| Parental IDs | Valid driver's licenses, passports, or other government-issued photo IDs for both parents | Bring the original IDs and a photocopy of the front and back of each. |
| Child's Photo | One 2x2 inch color photograph taken within the last 6 months | Make sure it meets all official photo requirements to avoid rejection. |
| Parental Consent | Both parents must attend, or the non-attending parent must provide a signed DS-3053 consent form | This form must be notarized and submitted with a copy of the non-attending parent's ID. |
| Fees | Separate payments for the application fee and the execution (acceptance) fee | Check the U.S. Department of State website for current amounts, as they can change. |
| In-Person Appearance | The child and the applying parent(s) must be present at the appointment | Find a local passport acceptance facility and schedule your visit. |
This table should help you organize everything before you head out the door, making the appointment itself much smoother.
Key Takeaway: You can't just renew a child's passport by mail like you do for an adult. Every application for a kid under 16 is treated like a brand new one and requires that in-person appointment with your child there.
Being fully prepared for this appointment is the secret to a stress-free experience. Having all your documents in order saves a ton of time and sets you up for successful travels.
Assembling Your Application Documents
Getting all your documents in order is the single most important step you can take. Trust me, getting it right the first time will save you a world of frustration and prevent a second trip to the passport acceptance facility. Let's walk through exactly what you need to build a perfect application package.
The absolute cornerstone of the application is the proof of U.S. citizenship. For most kids, this is their original or a certified U.S. birth certificate. It has to list the child's full name, date and place of birth, and the full names of the parents.
What Is a Certified Copy?
It's really important to understand what "certified" means here. A certified copy isn't just a good photocopy; it's an official document issued by the vital records office of the state or county where your child was born. It will have a raised, embossed, or multicolored seal and the registrar's signature.
Key Takeaway: A standard photocopy, no matter how clear, will not be accepted. If you submit a regular copy, your application will be delayed or flat-out rejected. You have to submit the original or a certified copy, which will be mailed back to you separately from the passport.
Proving Your Parental Relationship
Along with citizenship proof, you need to show your legal connection to your child. The birth certificate usually handles this perfectly since it lists the parents. But if that's not an option, other documents work too:
- Consular Report of Birth Abroad (FS-240) for kids born to U.S. parents overseas.
- Foreign Birth Certificate (you'll need an official English translation).
- Adoption Decree that lists the adopting parents.
- Court Order that establishes custody or legal guardianship.
Government-Issued IDs for Parents
Both parents who show up to the appointment need to present their own valid, government-issued photo ID. A current driver's license is the most common choice, but other IDs are also accepted. Just make sure it's not expired!
Acceptable IDs include:
- A valid U.S. Passport or Passport Card
- A valid, in-state Driver's License
- A Certificate of Naturalization or Citizenship
- A valid Military ID
- A valid Government Employee ID (city, state, or federal)
You'll need to bring your original ID and a clean, black-and-white photocopy of the front and back. The copy must be on a standard 8.5" x 11" sheet of paper. The acceptance agent will keep the photocopy. Being meticulous with documents is a great skill for any international travel. If you're planning ahead, our guide on necessary UK visa documents can be a big help for future trips.
The Passport Photo: A Special Challenge
Let's be real—getting a compliant passport photo for a baby or toddler can be tough. The photo has to meet some very specific rules: 2x2 inches, in color, with a plain white or off-white background, and taken in the last six months.
For a baby who can't sit up yet, try laying them on a plain white sheet on the floor and taking the photo from above. This helps avoid shadows on their face. Another great trick is to cover their car seat with a white sheet and snap the picture while they're safely buckled in.
The goal is a clear, neutral expression with both eyes open. It sounds tricky, but with a bit of patience and these tips, you can nail it without spending a fortune on multiple attempts at a photo studio.
This simple infographic breaks down how to handle the main application form.
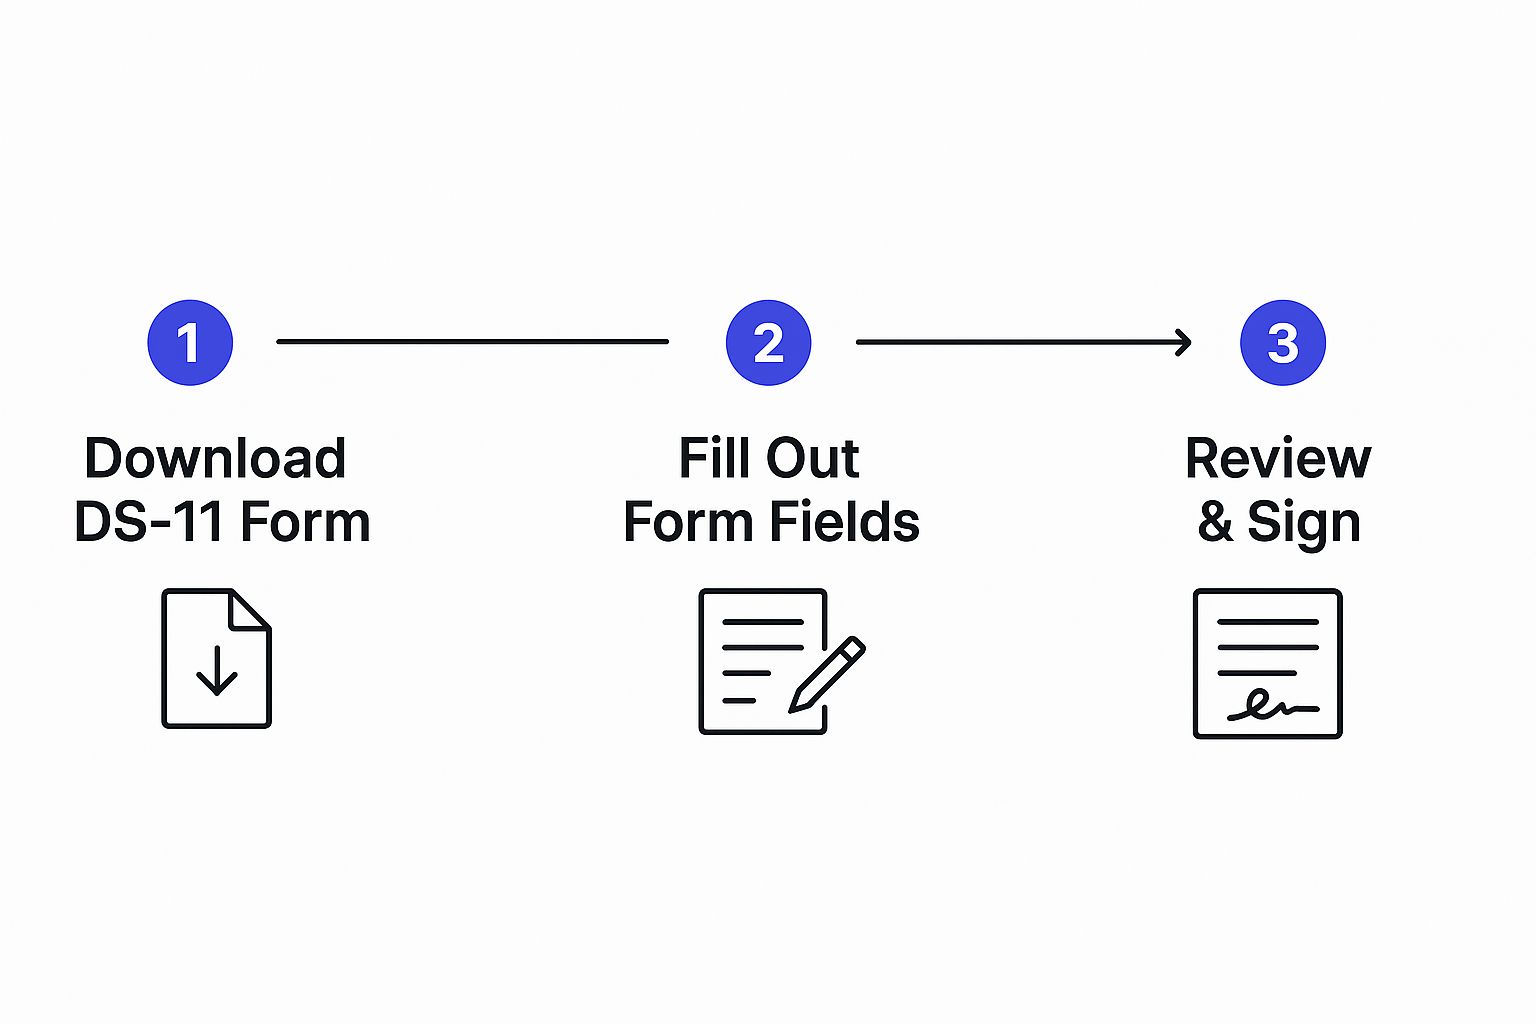
As you can see, filling out the DS-11 form is a manageable, three-part process. It just requires attention to detail, not a law degree. By following these steps, you'll ensure the core of your application is good to go.
Navigating Parental Consent Rules
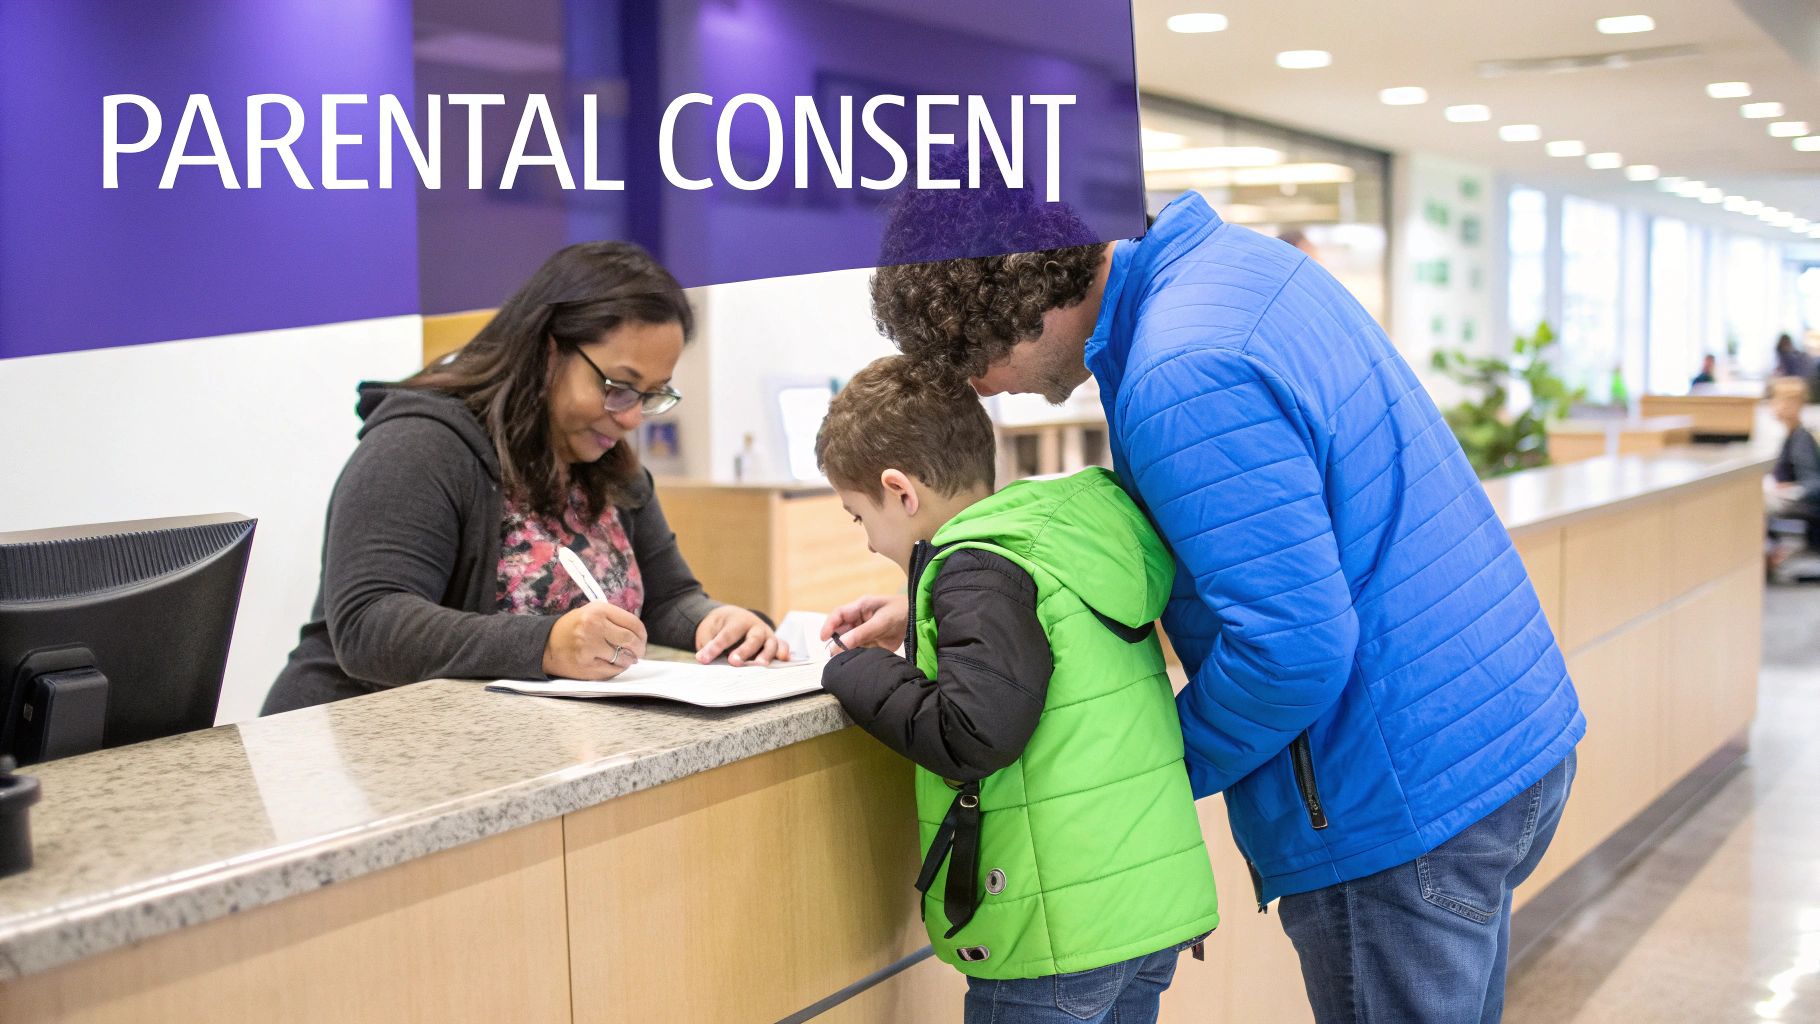
One of the tightest-run parts of getting a passport for a minor is proving parental consent. This isn't just red tape; it's a critical security measure designed to prevent international parental child abduction. The U.S. Department of State is extremely strict about this, so getting it right is key to a smooth process.
The simplest path forward? Both parents or legal guardians show up at the passport appointment with the child. At the appointment, you'll each present your own valid, government-issued ID and sign the DS-11 application form right there in front of the acceptance agent. This is the gold standard for proving consent.
But life is complicated. Work schedules, distance, and other circumstances can make getting both parents in the same room at the same time a real challenge. Luckily, the government has clear procedures for these exact situations.
When One Parent Cannot Attend
If one parent can't make it to the appointment, they can still give their consent by filling out and signing Form DS-3053 Statement of Consent. Think of this form as their official stand-in, but it has to be handled perfectly to be accepted.
Here’s the breakdown of what the non-attending parent must do:
- Fill Out the Form: The parent must complete the DS-3053 form accurately using black ink. No blank spaces.
- Get It Notarized: This is non-negotiable. The form must be signed in the physical presence of a certified Notary Public. The notary’s job is to verify that parent's identity and then stamp and sign the document.
- Copy the ID: Along with the notarized form, you have to submit a clear photocopy of the front and back of the same government-issued ID that was shown to the notary.
Heads up: a notarized DS-3053 is only valid for 90 days. Keep this timeline in mind when you're scheduling the actual passport appointment.
Expert Tip: Don't leave getting the DS-3053 notarized until the last minute. This is where a lot of applications get tripped up. Banks, UPS stores, and local government offices often have notaries, but call first to check their hours and fees.
When You Have Sole Legal Authority
The rules are different for single parents or those with sole custody. If you have sole legal authority over your child, you don't need the other parent's consent—but you absolutely have to prove it with official documentation.
Here's what the State Department will accept:
- Complete Court Order: A full, certified court order granting you sole legal custody or specifically stating you can apply for the child’s passport alone.
- Child's Birth Certificate: An original or certified copy that only lists the applying parent.
- Adoption Decree: The official decree listing only you as the legal parent.
- Death Certificate: A certified copy of the death certificate for the non-applying parent.
- Judicial Declaration: A court order declaring the other parent legally incompetent.
You must bring the original or a certified copy of your document to the appointment. A simple photocopy won't cut it. This level of precision is similar to what’s required when you write an application letter for a visa, where every claim needs to be backed up with proof.
Special Family Circumstances
In very rare and serious situations where you simply cannot find the other parent, you can file Form DS-5525 Statement of Exigent/Special Family Circumstances. This form requires you to write a detailed, signed explanation of why you cannot get the other parent's consent.
This is a last-resort option. Filing this form doesn't guarantee the passport will be issued and it will definitely slow down the process, as each case is reviewed by hand. If you have to go this route, be prepared to provide as much detail and supporting evidence as you possibly can.
Alright, you’ve gathered all the paperwork and you’re in the home stretch. The final leg of this journey involves filling out the application form and showing up for the in-person appointment. These last two steps are where tiny, preventable mistakes can trip people up, but don't worry—I'll walk you through it so you can sail right through.
The official application you need is Form DS-11. You have two options: fill it out online using the Department of State's form filler and then print it, or print a blank PDF and complete it the old-fashioned way. If you go with pen and paper, just remember two non-negotiable rules: use black ink only and write as clearly as you possibly can.
Heads Up: Whatever you do, DO NOT sign the DS-11 form at home. This is probably the most common mistake parents make. You absolutely must sign it in front of a passport acceptance agent during your appointment. Signing it early invalidates the form, and you'll have to fill out a new one on the spot.
Finding a Passport Acceptance Facility
You can't just drop this application off at any old post office. It has to be submitted at an official passport acceptance facility. These are typically located in designated post offices, public libraries, or county clerk offices. The easiest way to find one is by using the U.S. Department of State's official Passport Acceptance Facility Search Tool.
When you're ready to book, keep these tips in mind:
- Book Way in Advance: Appointment slots, especially before spring break or summer, can get booked up weeks or even months ahead of time. Don't wait until the last minute.
- Check for Photo Services: Not all facilities take passport photos on-site. If you were planning on getting the photo taken there, confirm they offer that service when you book the appointment to avoid a last-minute scramble.
- Ask About Payments: You'll be making two separate payments. The first goes to the U.S. Department of State (usually by check or money order), and the second is an execution fee paid directly to the facility (which might take credit cards). It's smart to clarify which payment methods they accept beforehand.
What to Expect at the Appointment
The in-person appointment itself is pretty formal but very straightforward. The agent’s main job is to verify everyone's identity and make sure your application packet is complete and correct.
Here’s a quick rundown of how it usually goes:
- Document Check: The agent will go through everything with a fine-tooth comb: the unsigned DS-11, your child's proof of citizenship, both parents' IDs, all the photocopies, and the photo.
- Oath and Signatures: The agent will administer a quick oath. Then, and only then, will both parents (or the one parent with a signed consent form) sign the DS-11.
- Child's Presence: Your child has to be there in person. The agent needs to see them to confirm their identity matches the photo and application.
- Payments: You'll hand over your two separate payments. The agent will then seal everything into an official envelope to be mailed off for processing.
The whole process is built around security, so every step has a purpose. To get a better sense of the quality standards they'll be looking for in your documents, our article on how to scan a passport for digital applications has some helpful pointers.
Planning for Future International Travel
Once that envelope is sealed and sent, it's the perfect time to start thinking about where you'll go. If a family trip to the United Kingdom is on your list, for example, remember that every single traveler—including your child—will need a UK Electronic Travel Authorisation (ETA) before you can even board the plane.
Navigating government websites can be confusing, and one small typo can cause delays or even a denial. To simplify your UK ETA application and increase your chances of approval, consider using AssistEntry — their experts guide you through the entire process, starting from just $79. As a trusted third-party application assistance provider, their team verifies and error-checks your application before it's submitted, ensuring all information is compliant. This expert handling is a great way to make sure your family's travel plans start off on the right foot.
Fees, Timelines, and Tracking Your Application
You’ve triple-checked the paperwork and made it through the in-person appointment. Now, the waiting game begins. This is where you trade the stress of preparation for the anticipation of getting that little blue book in the mail.
Let's break down the costs, how long you can expect to wait, and how to keep an eye on the process so you're not left wondering.
Breaking Down the Passport Fees
The total cost for a minor's passport is actually two separate payments you’ll make right at the appointment. It’s critical to know how to pay for each one, because you usually can't just swipe a credit card and be done with it.
First up is the application fee. This is the big one, and it goes directly to the U.S. Department of State. For this payment, you’ll almost always need a check or money order. Most acceptance facilities don't take cash or cards for this part.
Then there's the execution fee, a $35 charge paid directly to the post office or library where you applied. This covers their time for verifying your documents and administering the oath. Good news here: many places will accept credit cards or cash for this fee, but it’s always a good idea to call ahead and confirm.
Minor Passport Fees and Processing Times
To make it simple, here’s a clear breakdown of what you can expect to pay and how long you’ll wait for a new minor’s passport book.
| Service Type | Government Fee | Execution Fee | Total Cost | Estimated Processing Time |
|---|---|---|---|---|
| Routine Service | $100 | $35 | $135 | 6-8 weeks |
| Expedited Service | $160 ($100 + $60) | $35 | $195 | 2-3 weeks |
| Expedited with 1-2 Day Delivery | $179.53 ($160 + $19.53) | $35 | $214.53 | 2-3 weeks + faster return shipping |
Remember, these processing times are just estimates and start from the day your application is received, not the day you submitted it. Timelines can also change depending on how busy they are, especially during peak travel seasons.
Is Expedited Service Worth the Extra Cost?
So, should you shell out the extra $60 for expedited service? It really just comes down to your travel plans.
If you have a trip booked within the next three months, paying for expedited processing is a no-brainer. It gives you a much-needed buffer against any unexpected delays. But if your travel is still four or more months away, routine service should be perfectly fine. Just don't forget to account for mailing times, which can easily add another week or two to the total wait.
How to Track Your Application Status Online
Once your application is in the system, you can follow its progress online. About 7-10 business days after you apply, head over to the National Passport Information Center's online portal to check the status.
You’ll just need three pieces of information:
- The child's last name
- The child's date of birth (MM/DD/YYYY)
- The last four digits of the child's Social Security number
The status will update as your application moves along, from "Not Found" to "In Process," then "Approved," and finally "Mailed." Seeing that "Mailed" status is the best part—it means your wait is almost over.
Key Insight: Don't panic if the tracker shows "Not Found" for the first week. It takes time for the application to get mailed and officially logged into the national system. This is completely normal.
The Final Arrival: What to Expect in the Mail
This is the moment you've been waiting for! The passport book will arrive in a plain government envelope.
But there’s one more crucial detail: your original documents, like the birth certificate, are mailed back separately. They might show up a week or two before or after the passport, so don’t worry if they aren't in the same envelope.
Once everything arrives, give it all a close look. Check the passport for any typos in your child's name, birthdate, or other details. Errors are rare, but they do happen, and it's much easier to get them fixed right away. This kind of careful document check is a good habit for all international travel, including when dealing with digital entry rules. For more on that, see our guide on Canada eTA requirements.
Your Next Steps in International Family Travel
Congratulations! With your child's passport secured, a whole world of family adventures is now open to you. But before you get lost in booking flights and planning itineraries, there are a couple of things to keep in mind for totally seamless travel.
First, remember that a minor's passport is only valid for five years. It’s a great idea to set a calendar reminder for its expiration date the day it arrives. I'd even set a second reminder for two years out. Why? Many countries require your passport to be valid for at least six months after your trip ends, so you need to get a head start on renewing.
Navigating Digital Travel Requirements
Beyond the passport itself, many destinations now have digital entry requirements. If you're heading to Canada, for instance, everyone in your family—including your child—needs a Canada Electronic Travel Authorization (eTA) before they can even board the plane.
These online systems can be tricky. One small typo or an honest mistake can lead to frustrating delays or even a denial, putting a major wrench in your plans.
This is where a service like AssistEntry really shines. Their experts double-check every detail of your Canada eTA application for accuracy, making sure it meets all the official requirements. It's a simple way to boost your chances of getting approved quickly.
For a fee that starts from $79 (it include government fee, all cost included), you get the peace of mind that comes from knowing an expert has handled the complicated parts for you. To make things easy, you can use AssistEntry’s Canada eTA page for an error-free process.
Getting the passport is a huge first step, but it’s not the last. For programs like Global Entry that speed up your re-entry into the U.S., even infants need their own passport and have to go through a separate application process, which includes an in-person interview with a parent. You can discover more insights about these requirements for minors to get fully prepared.
Got Questions About Your Child's Passport?
Even after going through all the steps, it's totally normal to have a few questions pop up. The passport process has some very specific rules, especially for kids. Let's clear up some of the most common questions we hear from parents.
Do I Really Need the Original Birth Certificate?
Yes, this is one rule with absolutely no wiggle room. You have to submit either the original birth certificate or a certified copy.
A certified copy isn't just a photocopy; it's an official document you get from the vital records office where the birth was registered, and it will have a raised, embossed seal. Regular photocopies will get your application rejected on the spot. Don't worry, they will mail your original documents back to you separately after everything is processed.
Can We Just Renew My Child’s Passport by Mail?
Unfortunately, no. Any passport for a child under 16 cannot be renewed by mail.
Think about how much a child changes in five years. The government requires a brand new, in-person application with Form DS-11 every single time. This helps ensure the photo ID is current and acts as a crucial security measure to prevent fraud.
What if I Can't Find the Other Parent?
This is a tough but common situation. If you genuinely cannot locate the other parent to get their consent, you'll need to fill out Form DS-5525, "Statement of Exigent/Special Family Circumstances."
You have to provide a detailed, signed explanation of your situation and why the other parent’s consent is unobtainable. Be prepared for this to add a significant amount of time to the application process, as these cases are reviewed individually by the U.S. Department of State.
A Word of Advice: This form is really a last resort. The State Department needs a thorough and convincing explanation for why a parent is absent. Vague statements like "I don't know where they are" probably won't cut it without causing major delays or a denial.
Are the Rules Different for Teens (Ages 16 or 17)?
They are! The requirements for applicants aged 16 and 17 are a bit more relaxed. While they still have to apply in person using a DS-11 form, they only need to show proof of consent from one parent or legal guardian.
This can be done in a couple of ways:
- A parent or guardian can just show up at the appointment with them.
- The teen can bring a signed, notarized statement of consent from a parent.
This approach gives older teens a bit more independence while still keeping a necessary layer of parental oversight in place.
Once that passport is in hand, your family is set for international adventures. Just remember, many countries have their own entry requirements now. For instance, if a trip to the United Kingdom is on your radar, every single family member—including your child—will need a UK ETA (Electronic Travel Authorisation).
To avoid the common mistakes that can hold up your travel plans, you might want to use the expert services of AssistEntry. As a trusted third-party application assistance provider, their team does a full verification of your application for errors and compliance, which seriously increases your chances of a smooth approval. Prices start from $79 (it include government fee, all cost included). To get your UK travel plans sorted, head over to AssistEntry’s UK ETA page.